Clonezilla

The Free and Open Source Software for Disk Imaging and Cloning
Clonezilla Live Doc
Print all this session
Disk to disk clone : Clone small disk to larger disk (e.g. 20 GB to 60 GB) (Step by step)
  1. Prepare Clonezilla live
  2. Boot your Clonezilla live via USB
  3. Choose "ToRAM" option in the boot menu
  4. Choose language
  5. Choose keyboard layout
  6. Choose "Start Clonezilla"
  7. Choose "disk_to_local_disk"
  8. Choose source disk
  9. Choose target disk
  10. Start cloning
  11. Disk is cloned
Choose "Start Clonezilla"


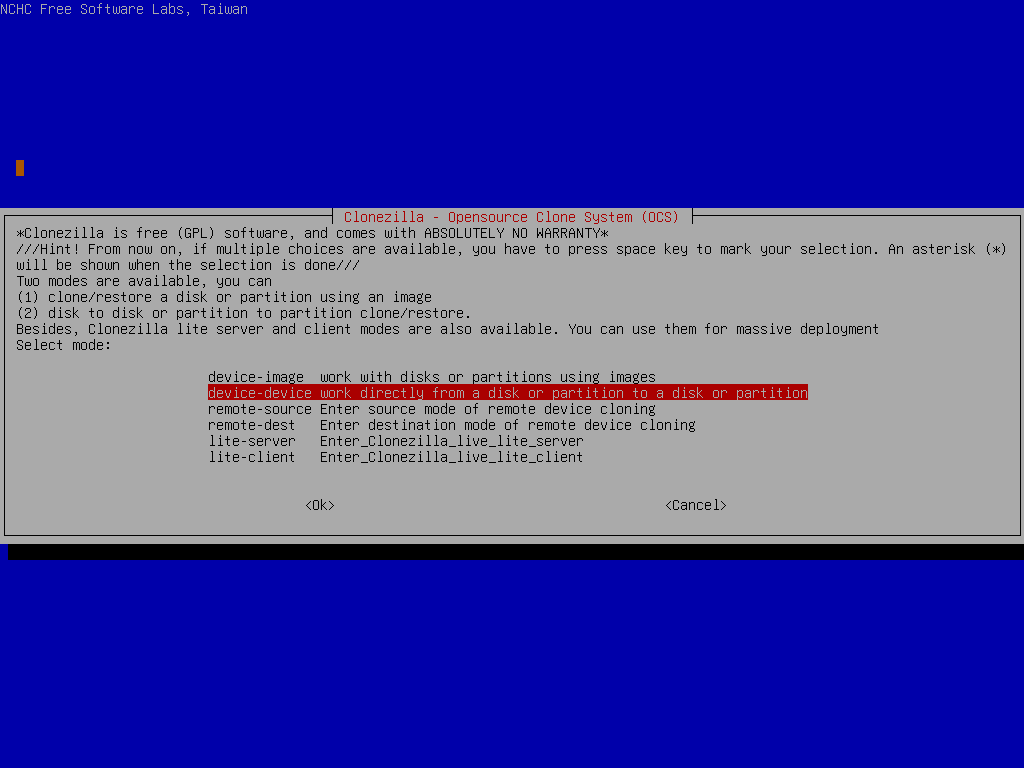
Choose "device-device"


Choose "Beginner"


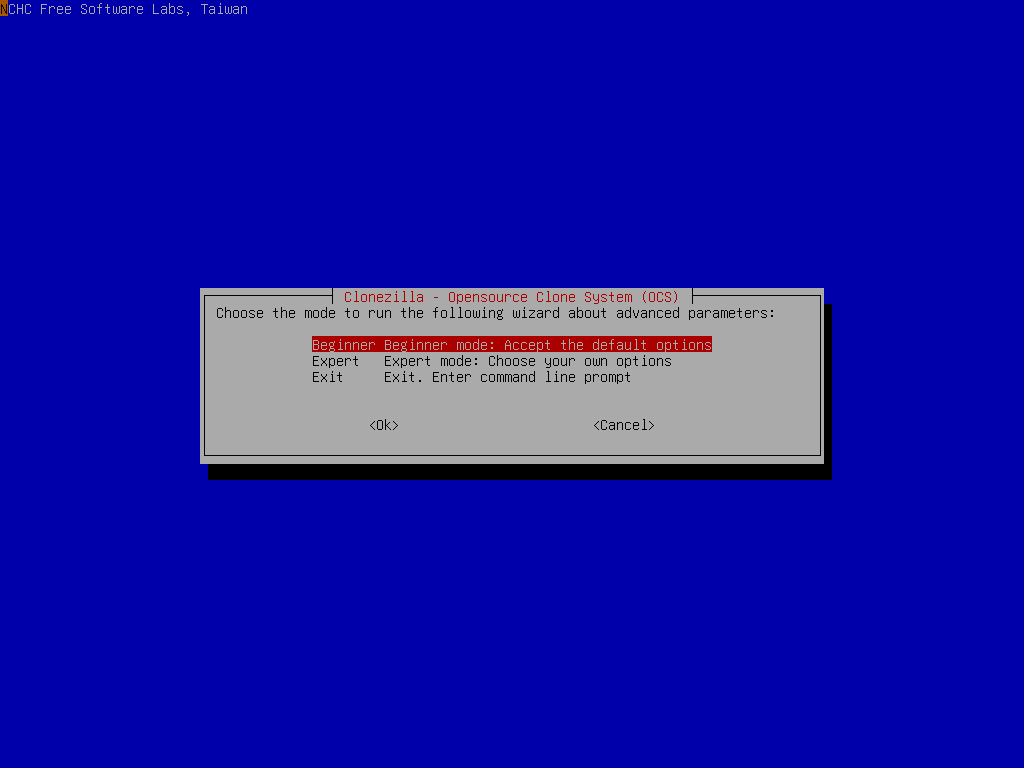
If you choose "Expert" mode, you will have some chances to choose advanced parameters, e.g. tune the CHS values of target disk, how to create partition table on the target disk, etc.. You can see more details here.

///NOTE/// By deafult, Clonezilla will clone the "same" size of data from source to target disk. i.e. in this example, only 8 GB data will be cloned to the target disk. The remaining 12 GB on the source disk and the remaining 52 GB on the destination disk will not be read from or written to. If you want to make use all of the target disk size, remember to enter "Expert" mode and choose option "-k1".
Print this page
Clonezilla project. All Rights Reserved. Anyone is permitted to copy and distribute verbatim copies of this document under the terms of the GNU FDL Free Documentation License.