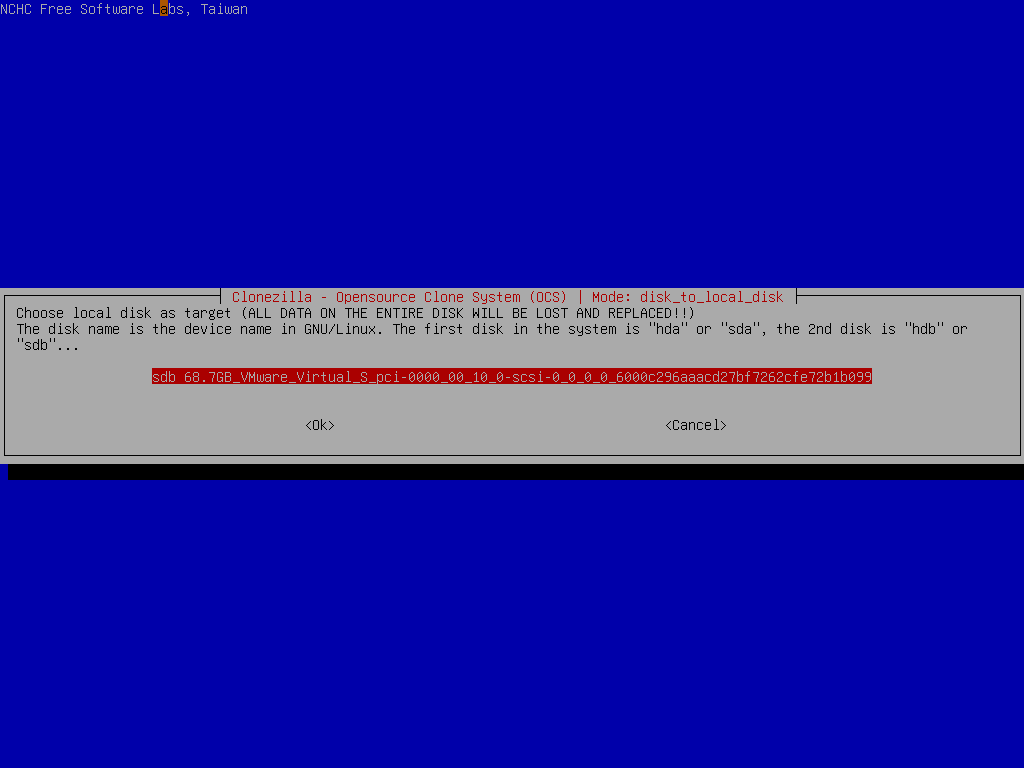
Clonezilla

The Free and Open Source Software for Disk Imaging and Cloning
Clonezilla Live Doc
Print all this session
Disk to disk clone : Clone small disk to larger disk (e.g. 20 GB to 60 GB) (Step by step)
  1. Prepare Clonezilla live
  2. Boot your Clonezilla live via USB
  3. Choose "ToRAM" option in the boot menu
  4. Choose language
  5. Choose keyboard layout
  6. Choose "Start Clonezilla"
  7. Choose "disk_to_local_disk"
  8. Choose source disk
  9. Choose target disk
  10. Start cloning
  11. Disk is cloned
Choose target disk
Here the target disk is sdb, which is 60 GB in size but only 8 GB data will be written. The remaining 52 GB free space will be unchanged.
///WARNING/// Be careful! Do not choose the wrong disk. Since all the data on the target disk will be overwritten!!!


Select if the source file system need to be checked or not:


Select if the way to create the partition table on the destination dis. Here we choose "-k0":


Select the mode you want after the disk cloning is done:


By default we will choose later, but if you have decided, you can choose to reboot or poweroff the machine.

Clonezilla shows you the complete command to run this disk to disk clone action:


Print this page
Clonezilla project. All Rights Reserved. Anyone is permitted to copy and distribute verbatim copies of this document under the terms of the GNU FDL Free Documentation License.